Image Optimization Guide
How to Compress Images While Maintaining Quality
Learn practical steps to reduce image size without sacrificing visual quality. Compress images online quickly and safely for web, email, and social sharing.
Introduction
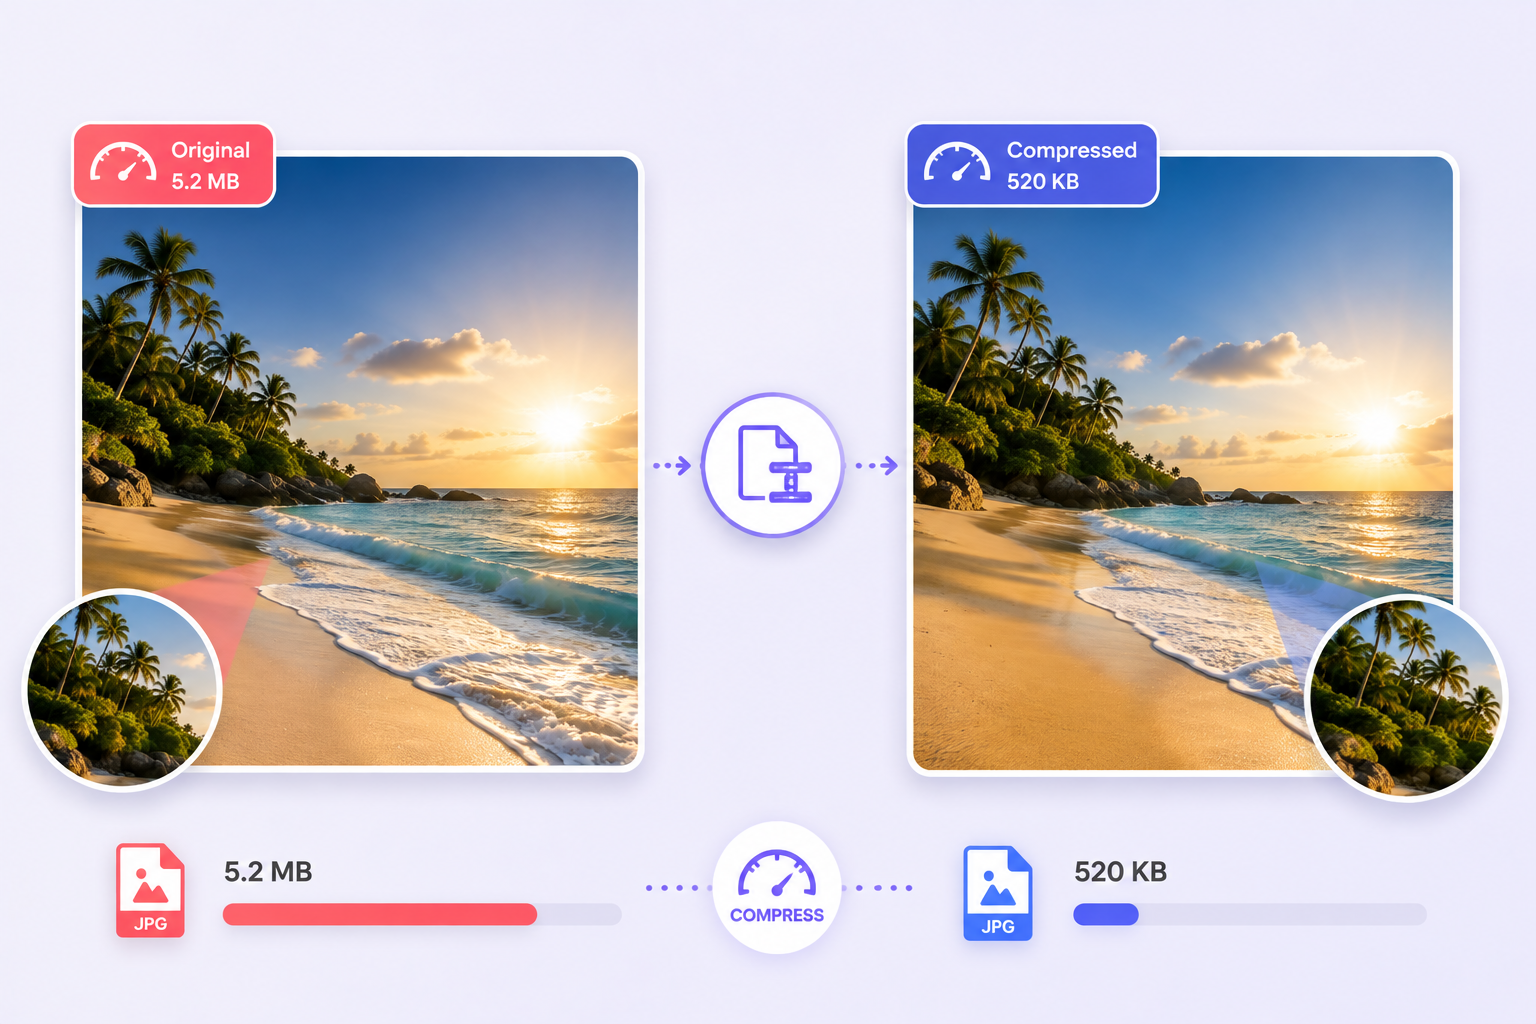
Image files are often the largest assets on a page. Compressing images reduces file size so pages load faster, saves bandwidth, and makes sharing simpler. With the right approach, you can compress images without a noticeable loss in detail.
Whether you're optimizing a blog, preparing product photos for ecommerce, or reducing attachments for email, learning how to compress images is a key skill for modern content creators and site owners.
What is image compression?
Image compression makes files smaller by removing or reorganizing data in the file. There are two main types: lossy and lossless compression.
Lossy compression removes some image data to save space. This is common for photos (JPG/JPEG) and can dramatically reduce file size with little visible quality loss at moderate settings. It's a great choice when you need to reduce image size for web pages.
Lossless compression reduces file size without discarding visual data. Formats like PNG can use lossless techniques to shrink files while keeping every pixel intact. Use lossless when you need transparency or exact pixel fidelity, such as for logos.
Note the difference between compressing, resizing, and cropping: compressing changes file data to make the file smaller; resizing changes image dimensions (width/height); cropping removes parts of the image. Often, a combination—resize then compress—gives the best results.
Why compress images?
Compressing images has many practical benefits. Smaller images improve page speed, reduce bandwidth costs, and enhance the user experience on slow or mobile connections. Search engines favor fast-loading pages, so compression also helps SEO.
- Faster website loading and better user engagement.
- Improved search rankings and Core Web Vitals.
- Smoother social media uploads and faster sharing.
- Smaller email attachments and quicker downloads.
- Reduced cloud storage and bandwidth costs.
- Better performance for mobile apps and online forms.
Step-by-step guide
Our online image compressor is built to be simple and reliable. Follow these steps to compress images without losing quality.
- Open the Image Compress tool. Navigate to the Compress page from the Tools menu.
- Upload your image. Choose a JPG, PNG, or WEBP file from your device.
- Adjust the compression quality. Slide the quality control to strike a balance between file size and visual fidelity.
- Preview the estimated file size. The tool shows an estimated output size so you can confirm the reduction.
- Compress the image. Click Compress to process the file in your browser—no upload to a server is required unless you choose otherwise.
- Download the optimized image. Save the compressed image and use it on your site, social post, or email.
Best practices
- Start with medium compression and compare results before going lower.
- Keep original high-resolution images as backups.
- Choose JPG for photos, PNG for images needing transparency, and WEBP for best web performance when supported.
- Avoid compressing the same image multiple times—work from an original file.
- Test quality on multiple devices and at the final display size before publishing.
Common mistakes
- Compressing too aggressively: this causes visible artifacts and color banding.
- Uploading extremely large files unnecessarily: resize before compressing if you only need smaller dimensions.
- Saving logos or screenshots with heavy lossy settings: these often need lossless or gentle compression.
- Compressing images with text too much: text can become blurry and hard to read.
Supported formats
Our online image compressor supports JPG, JPEG, PNG, and WEBP. JPG/JPEG are ideal for photos, PNG for images with transparency or sharp edges, and WEBP offers modern compression with excellent quality-to-size ratios.
Benefits of our image compressor
- Browser-based processing that is fast and private.
- Quick compression with helpful previews and size estimates.
- Secure processing—your images are handled safely during the session.
- High-quality output that balances size and clarity.
- No software installation, and mobile-friendly controls for on-the-go editing.
Frequently Asked Questions
Does image compression reduce quality?
Compression can reduce quality if applied too aggressively, but moderate settings usually preserve visual detail while reducing file size significantly.
Can I compress PNG images?
Yes. PNG compression is typically lossless, making it ideal for graphics and images that need exact pixels or transparency.
Can I compress WEBP images?
Our tool supports WEBP; it often provides smaller files than JPG at similar visual quality and is a great choice for modern web projects.
Is the tool free?
The online image compressor is available for everyday image editing needs to help you optimize images quickly and easily.
Can I compress images on my phone?
Yes. The interface is mobile-friendly so you can compress images directly from a smartphone or tablet.
Which compression level should I choose?
Start with a medium level and preview results—adjust down only if you need a smaller file and the image still looks acceptable.
Conclusion
Compressing images is an essential step to make websites faster, improve SEO, and simplify sharing. By understanding lossy vs. lossless compression and following best practices, you can reduce image size without sacrificing the look and feel of your photos.
Give our Image Compress tool a try to reduce file size while maintaining excellent image quality for the web, email, and social media.