Image Editing Guide
How to Resize an Image Without Losing Quality
Resizing images is one of the most practical ways to make visuals fit a specific layout, platform, or file limit. With the right approach, you can change image dimensions while keeping the result sharp, clear, and ready to use.
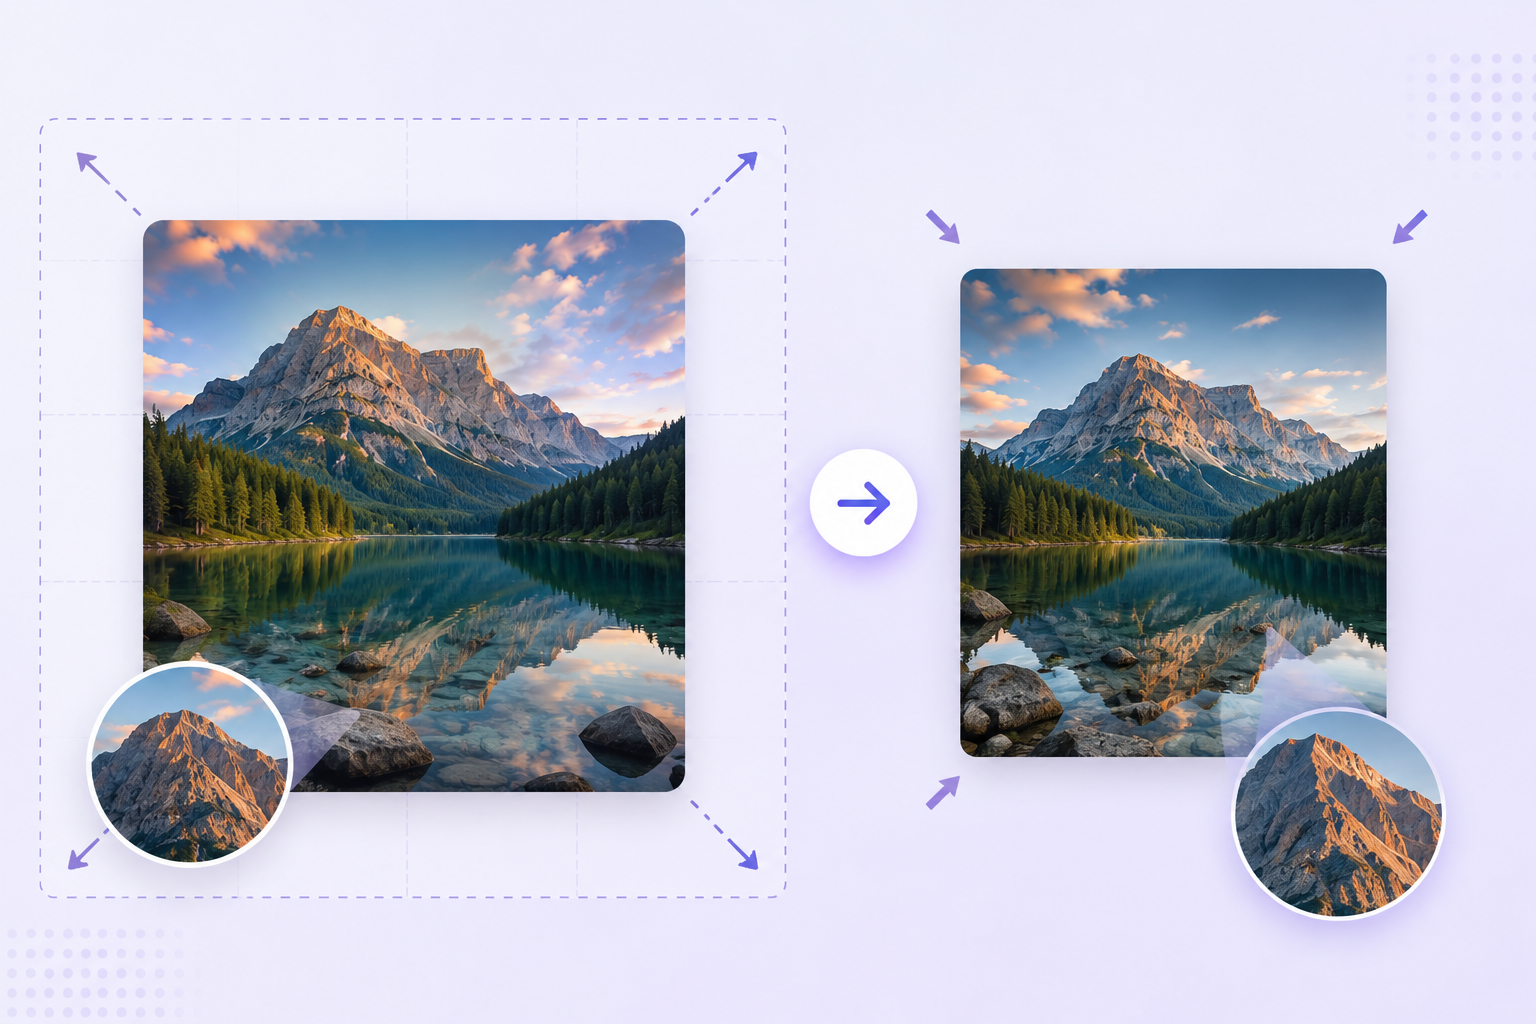
Introduction
Image resizing is important because the right dimensions can improve loading speed, fit platform requirements, and make your content look polished. A photo that is too large may slow down a website, while an image that is too small may appear blurry or lose detail when displayed at full size.
People often need to resize images for social media posts, website banners, product listings, email attachments, and online forms. An online image resizer makes this painless because it lets you change dimensions in seconds without installing software or learning complicated editing tools.
What does image resizing mean?
Resizing an image usually means changing its width and height. This is different from cropping, which removes parts of the picture, and from compressing, which reduces file size without always changing the visible dimensions.
For example, a landscape photo that is 4000 pixels wide can be resized to 1600 pixels for a website header. That changes the dimensions, but the image still keeps its original shape. If you crop the image instead, you remove part of the photo to focus on a specific subject. If you compress it, the file becomes smaller, which can help with upload speed and storage.
Understanding these three actions helps you choose the right approach. If your goal is to fit a banner, you likely need to resize. If your goal is to remove distractions around a subject, you likely need to crop. If your goal is to make the file lighter for sharing, you may need to compress it.
Why resize images?
Resizing is useful in many real-world situations. A sharp image that is too large for a website can slow page load times, while a small image may be too low-resolution for print or presentation use. Learning how to resize an image properly helps you balance quality, clarity, and performance.
- Social media posts: Each platform prefers different image sizes, and a well-sized photo looks cleaner and more professional.
- Website optimization: Smaller images improve loading speed and help your pages rank better in search results.
- Email attachments: Large files can be difficult to send, while resized files are easier to upload and share.
- Online forms: Many forms require image uploads in a specific size, and resizing can save time and prevent rejection.
- E-commerce product photos: Consistent dimensions make product pages look uniform and more trustworthy.
- Blog images: A properly resized image fits the content layout and improves readability.
- Presentations: Large slides and visual assets look better when they are sized for the exact screen format.
Step-by-step guide
Using our image resizer is simple, even if you are new to editing. The process is designed to be fast, visual, and beginner-friendly.
- Open the Image Resize tool. Visit the resize page and begin with the upload area.
- Upload your image. Select a JPG, PNG, or WEBP file from your device and wait for it to load into the preview panel.
- Enter your preferred width and height. Choose the new dimensions based on where the image will be used.
- Maintain aspect ratio if desired. Keeping the aspect ratio locked helps prevent the image from looking stretched or distorted.
- Preview the resized image. Check the result before downloading to confirm the composition still looks right.
- Download the resized image. Save the final file to your device and use it in your project, website, or social post.
Best practices
- Keep the aspect ratio locked whenever you want the image to retain its original proportions.
- Avoid enlarging small images too much, because that can make them look blurry or pixelated.
- Use the correct format for the job. JPG is great for photographs, PNG is helpful for graphics with transparency, and WEBP is a modern option for web performance.
- Resize before uploading to websites so your files are optimized for page speed and layout.
- Choose dimensions based on the platform. A banner for a website is different from a thumbnail for a social media post.
Common mistakes
- Stretching images: Changing width and height independently can distort the photo.
- Ignoring aspect ratio: This often creates awkward, warped visuals.
- Using oversized images: Large files can slow websites and make sharing more difficult.
- Enlarging low-resolution images: A tiny image will not suddenly become sharp just because it is made larger.
- Saving in the wrong format: Some formats are better suited for photography, while others work better for transparency or web delivery.
Supported formats
Our online image resizer supports common formats that are widely used across the web and in creative projects. You can resize JPG, JPEG, PNG, and WEBP files with confidence.
JPG and JPEG are popular for photos, PNG is ideal for images that need transparency, and WEBP offers efficient compression for modern websites. Choosing the right format helps you keep quality high while managing file size effectively.
Benefits of our image resize tool
- Fast browser-based processing that works without waiting for large uploads to finish on a desktop app.
- No software installation needed, so you can start resizing right away from your device.
- Secure processing that keeps your image workflow simple and private while you edit in the browser.
- High-quality output that preserves clarity when you choose the right dimensions and format.
- An easy-to-use interface designed for beginners and experienced users alike.
- Mobile-friendly controls so you can resize images on the go from your phone or tablet.
Frequently Asked Questions
Does resizing reduce image quality?
It can, if you enlarge an image too much or use poor settings. Resizing down usually keeps the image clear, while enlarging small files can introduce blur.
Can I resize PNG images?
Yes. Our tool supports PNG files, which is useful for logos, screenshots, and images that need transparency.
Is the tool free?
Our online image resizer is designed to make resizing simple and accessible for everyday image editing needs.
Can I resize images on my phone?
Yes. The interface is mobile-friendly, so you can resize images directly from a smartphone or tablet.
What is the difference between resizing and compressing?
Resizing changes the dimensions. Compressing reduces file size, often without changing the visible size as dramatically.
Which image size is best for websites?
It depends on the layout, but most web images work best when they are sized for the display area and optimized for fast loading.
Conclusion
Learning how to resize an image without losing quality gives you more control over your visuals, whether you are preparing content for the web, social media, or print. By using the right dimensions, keeping the aspect ratio intact, and choosing the correct format, you can create clean, sharp images that look professional and load quickly.
Try our Image Resize tool today to make quick adjustments, preserve quality, and get your images ready for any project.